Shed Installation Uncovered: Key Steps for a Successful Build Oct 19, 2025
First and foremost, planning is key. Begin by defining the purpose of your shed. This will determine the size, design, and materials needed. For example, a storage shed may require less ventilation than a dedicated workshop. Once your purpose is clear, obtain the necessary permits. Many local governments have zoning restrictions, and failing to secure the proper permits could lead to fines or the removal of your shed. It's best to check these regulations early in the planning process.
Next comes choosing the right location in your yard. Consider the terrain, sunlight exposure, and proximity to trees. An ideal spot is flat and stable, reducing the need for extensive groundwork. Be mindful of how the shed will interact with your existing landscape. For instance, placing it near trees might offer shade but can also lead to roof debris accumulation.
With a site selected, the next critical step involves laying a strong foundation. The foundation supports the entire structure, so it needs to be solid and level. Options include concrete slabs, gravel bases, or wooden beams, each with its own benefits. A concrete slab provides excellent stability and durability, while a gravel base offers improved drainage and can be a cost-effective alternative. Be sure to consider local weather patterns when selecting your foundation type, as this will impact the longevity of the shed.
Construction begins with assembling the shed’s frame. For DIY enthusiasts, prefabricated kits can simplify this process, offering pre-cut materials and detailed instructions. However, hiring a professional can ensure the frame is rock-solid, especially for larger or custom designs. At this stage, attention to detail is crucial—any misalignment can throw off the entire build.
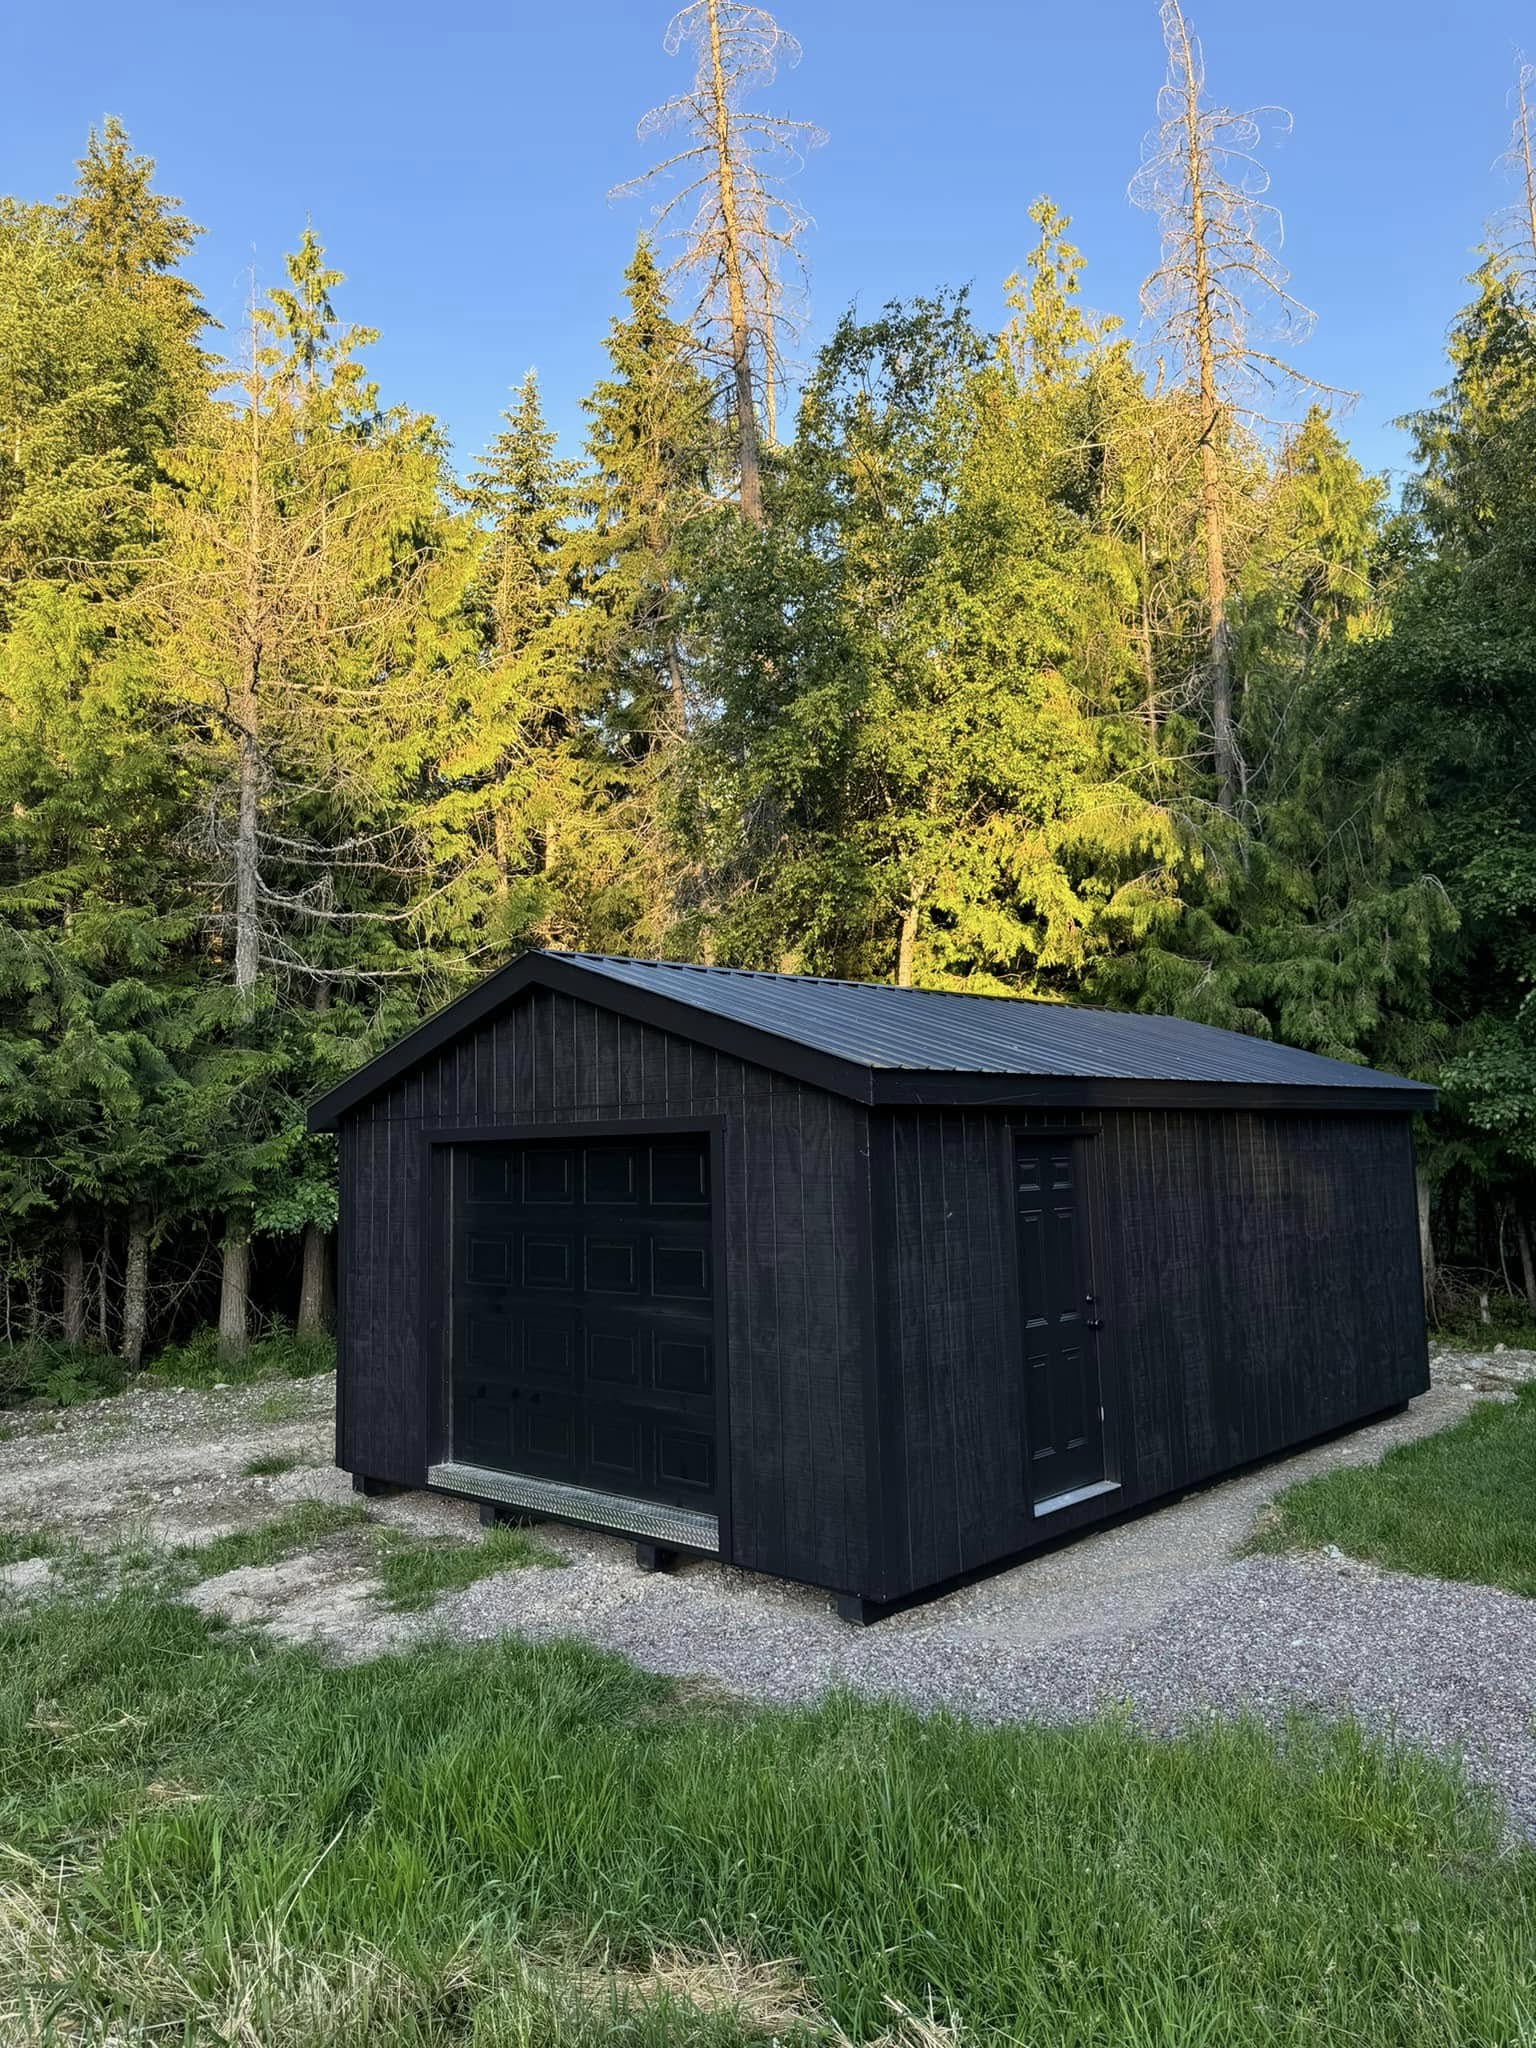
Once the frame is set up, it's time for the roofing and siding. The roof is more than just a covering; it protects your structure from the elements. When choosing roofing materials, consider durability and aesthetics. Metal roofs are extremely durable, while shingles offer a classic look. When installing the siding, ensure it's weather-resistant and suited to the climate.
The final steps involve installing doors and windows, which not only add to the functionality but also enhance the aesthetic appeal. Opt for robust, weather-resistant materials to withstand the elements. Installing windows can fill the shed with natural light and provide ventilation, crucial for any workspace or tool storage area.
In conclusion, patience and precision are key throughout the shed installation process. By carefully planning each step, from selecting the site and foundation to finalizing details like doors and windows, you can ensure a sturdy, functional structure that meets all your needs. Whether undertaking the project on your own or relying on experts like Rocky Mountain Shed Builders, understanding these steps will make the journey from blueprint to backyard a rewarding experience. Ready to start your shed project? We're here to help bring your vision to life, ensuring a smooth build from start to finish.
/filters:no_upscale()/filters:format(webp)/media/5a08aefa-dffa-4d44-b939-7035a871a0b5.jpeg)
/filters:no_upscale()/filters:format(webp)/media/5fb8f330-7d9d-4137-8645-61e011c95ba2.jpeg)